
It happens to all of us – we’re typing away, and suddenly a whole section of text is in caps lock! I know if I’m multitasking it happens, especially since my keyboard has no light to alert me to caps lock being on!
The good news is, you don’t have to re-type the whole thing. Microsoft Word has a couple of ways to change the case of your text with just a couple of clicks.
First, highlight the text that is in all caps, and then use one of the guides below.
Using Ribbon Button
After highlighting the text to change, click on the Change Case button in the Home tab. It looks like a capital and lowercase A (Aa). Each menu shows an example of what your text will look like.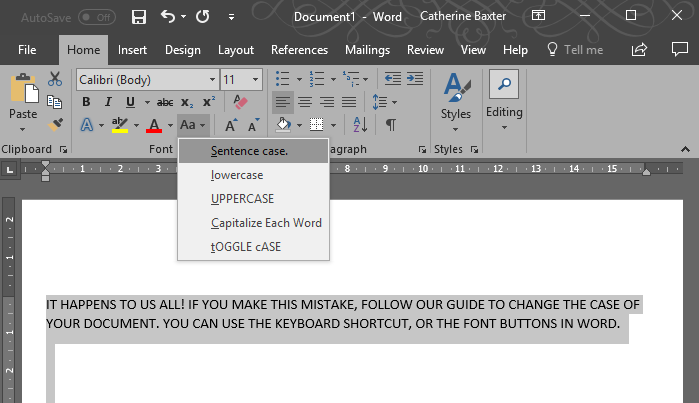
Using Keyboard Shortcut
If you’re comfortable using keyboard shortcuts, the shortcut to fix a caps lock error is SHIFT + F3. This will change all your highlighted text to lowercase, just like magic;


To get to Sentence case, press SHIFT + F3 again, and you’ll get to Sentence case, see below;
Small Caps
As an added tip, to get your sentence into small caps, you can use the “Font” option, or a different keyboard shortcut. Small caps is great for headings.
Highlight your required section, and right click on it, then click on Font.
Under Effects, tick Small Caps and then OK.

Your text will now look like the below;
![]()
Alternatively, highlight your text and use the keyboard shortcut CTRL + SHIFT + K.
If you have any questions, please leave me a comment!